Making This Website
Making this website
I have always thought it would be very cool to make a website, so I decided to make one. However I was unsure of what to put on my website. A game that I could play would be fun, however that did not seem like a productive use of my time. I then heard that making a website to document all my projects was supper fun to do. That appeled to me, so I began to work on this.
Creating the Site
My Plan
After doing some research, I decided on using Jekyll, which is a static site generator. Jekyll also has many different templates for the website. I chose Chirpy, because of both the simplicity and many features. It was exactly what I needed!
Starting the Website
I began by forking the Chirpy repository to my github. I then dowloaded the files to my machine and installed and ran everything needed. Then, I ran this in the terminal.
1
ethankazenske@Ethans-MacBook-Air-2 etpreskaz.github.io % bundle exec jykell s
Taking the web-adress, pasting it into safari, and pressing enter- my website was there!
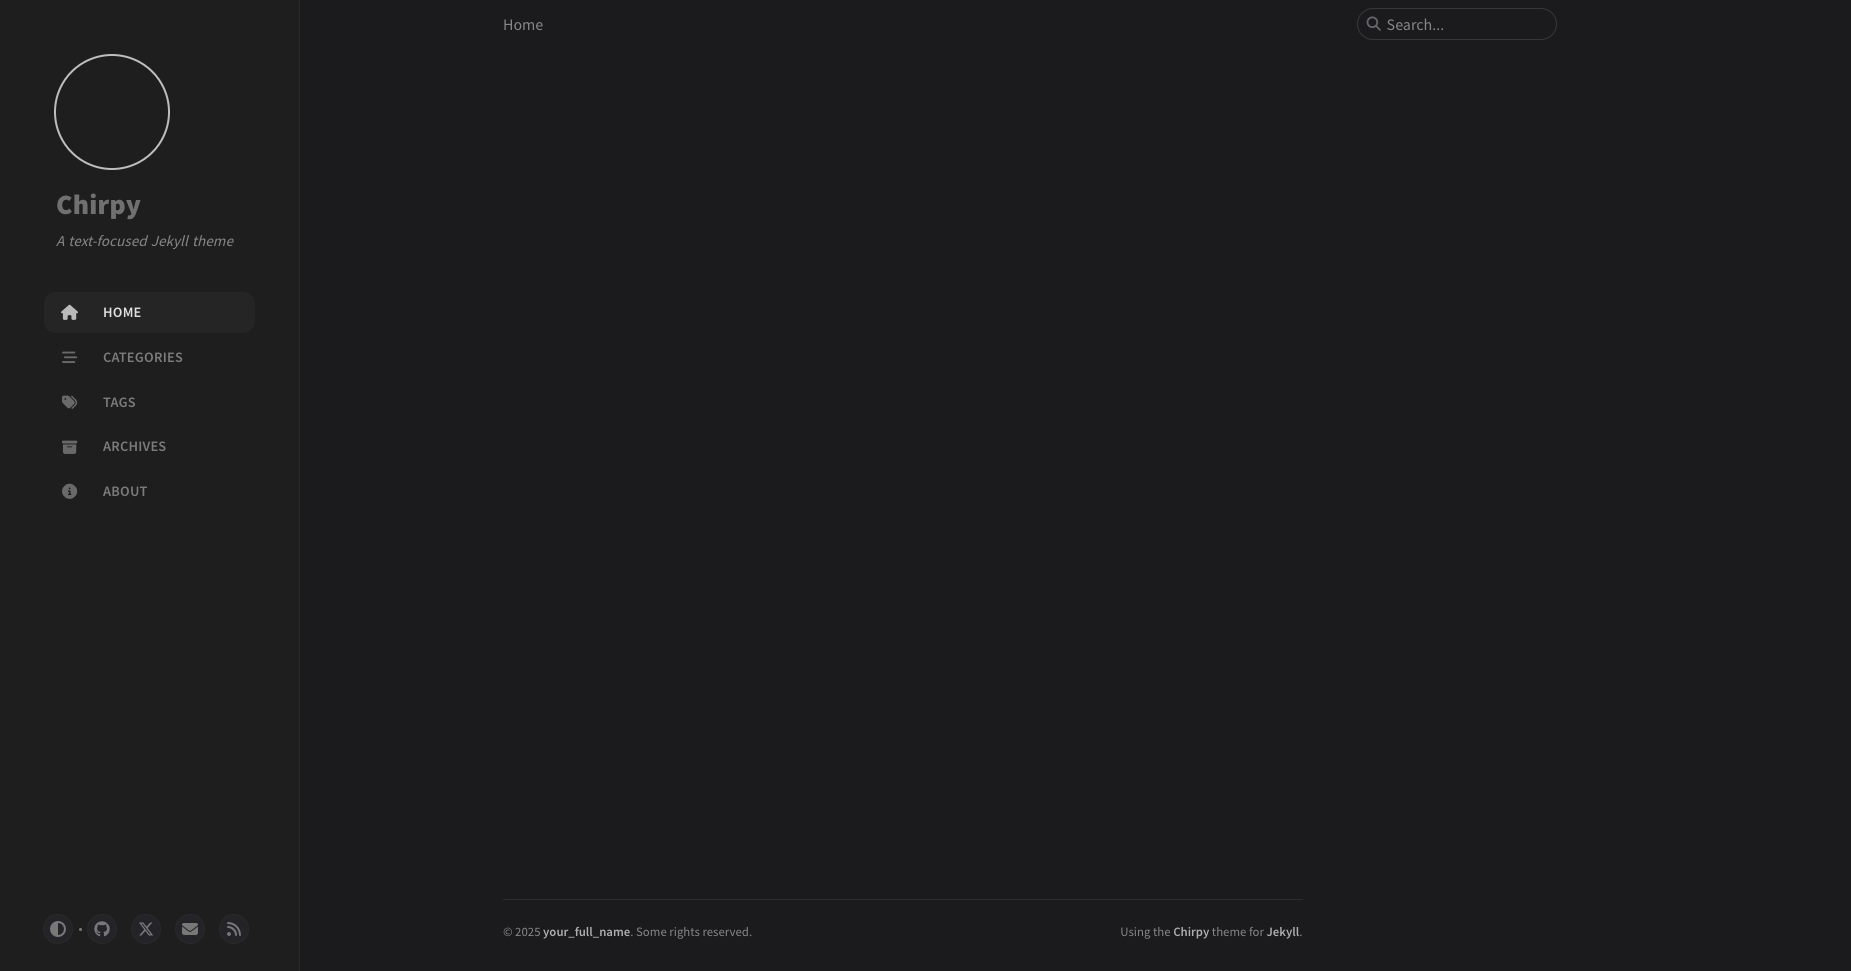 A view of the website without any personalization
Publishing the Website
Hosting the website from my machine seemed impractical, so I decide to use github pages to publish the site. Github pages seemed like the best option, being free. This was also suprising easy as to set up as well. I set up everything so that whenever I commited and pushed something to my repositiory, it would automaticly recompile everything at etpreskaz.github.io. It was up and running, however it was very much blank.
Personalizing the Website
I started to personalize my website. Chirpy makes this quite easy! Within the _config.yml file is many options for costomizidng your site.
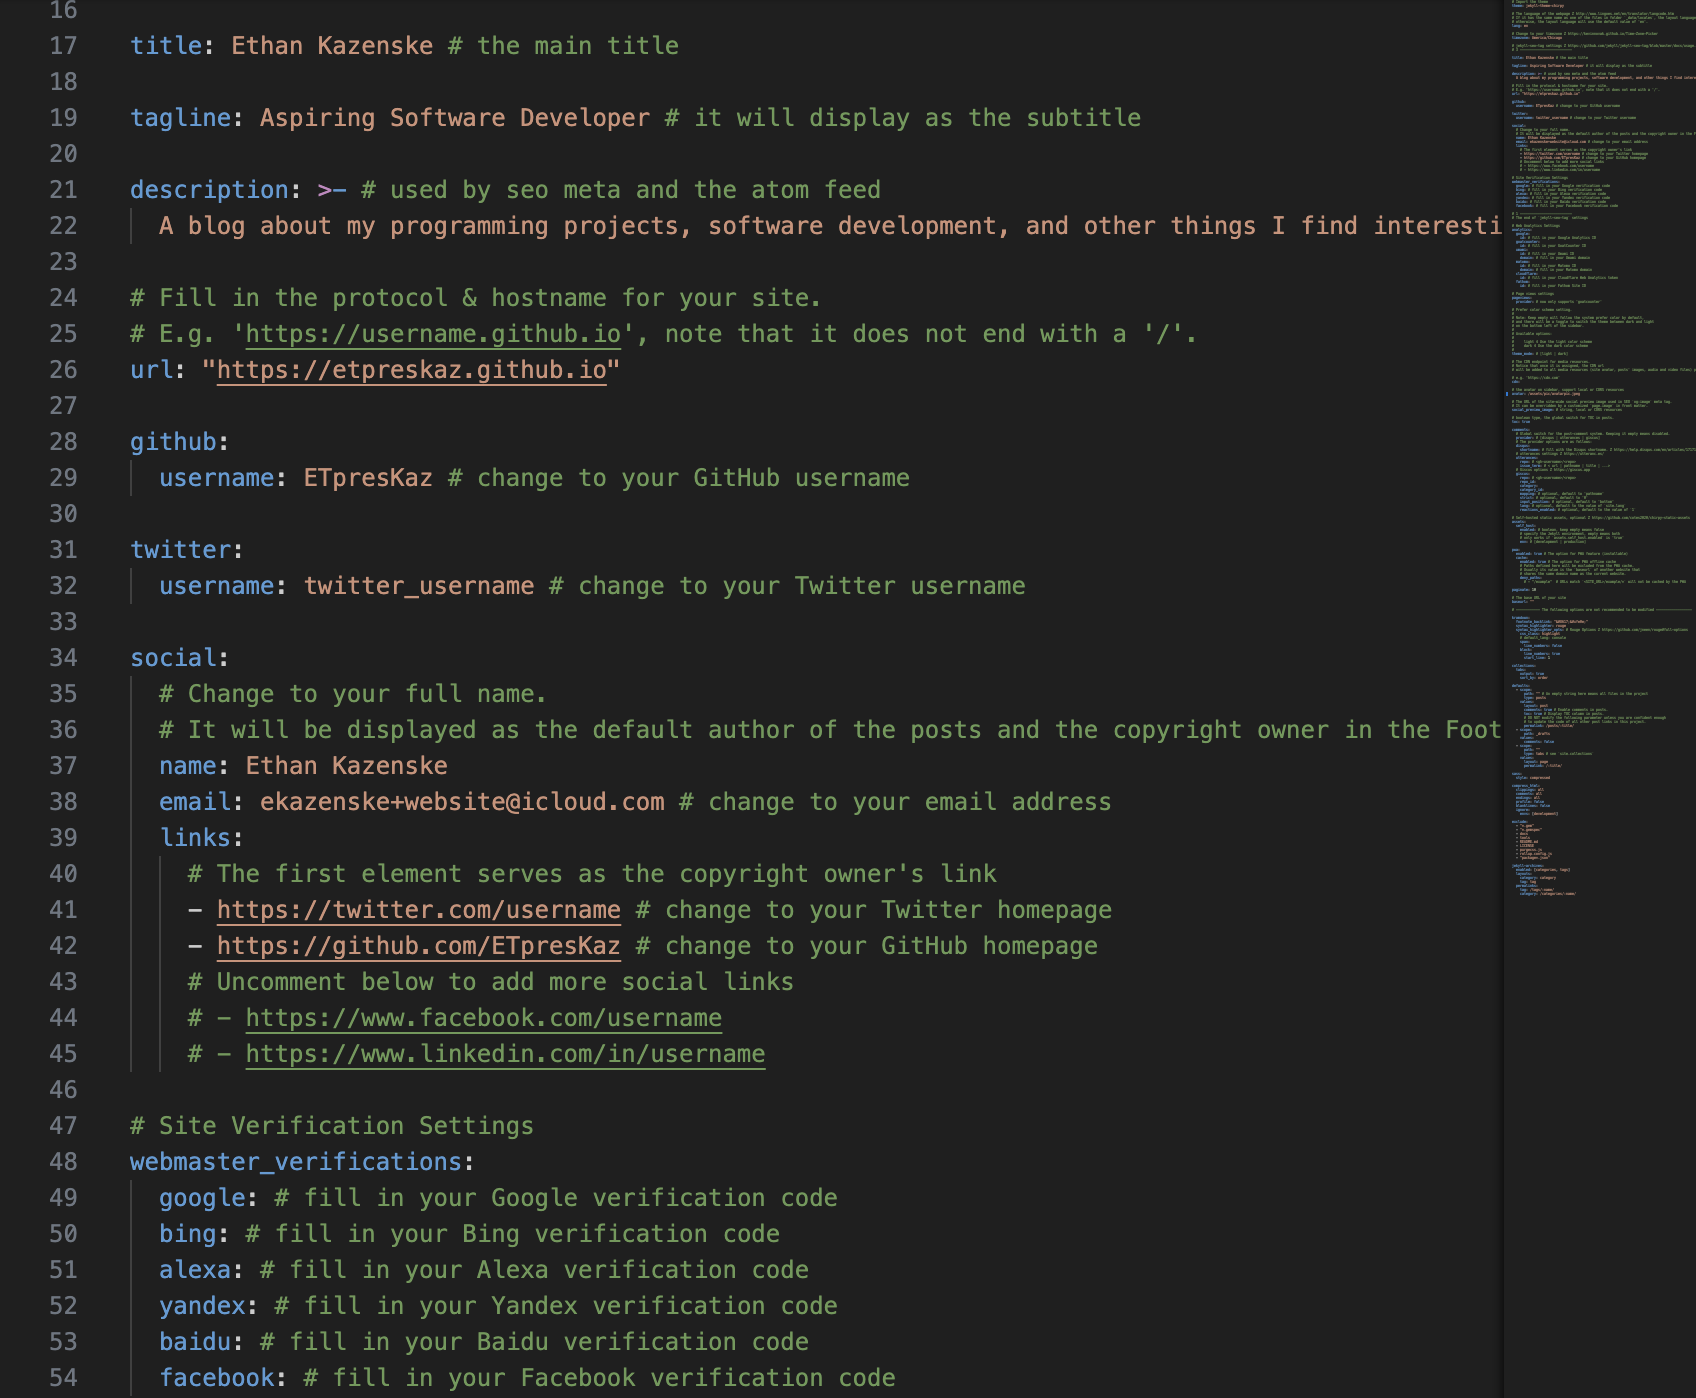 A screenshot of the _config.yml file
Adjusting several things in here, including adding my name, email, and an avatar jpeg in the assets folder made the website more personal.
Making the First Post
It was now time to do what this website was for, which is to document my adventures in programming. I began by adding a new markdown file to the _posts folder. I then made a new folder in my assets folder, for all the photos I planned to use. I followed Chirpy’s format for making the title, tags, and other preliminary things. Then I started documenting what I had done!
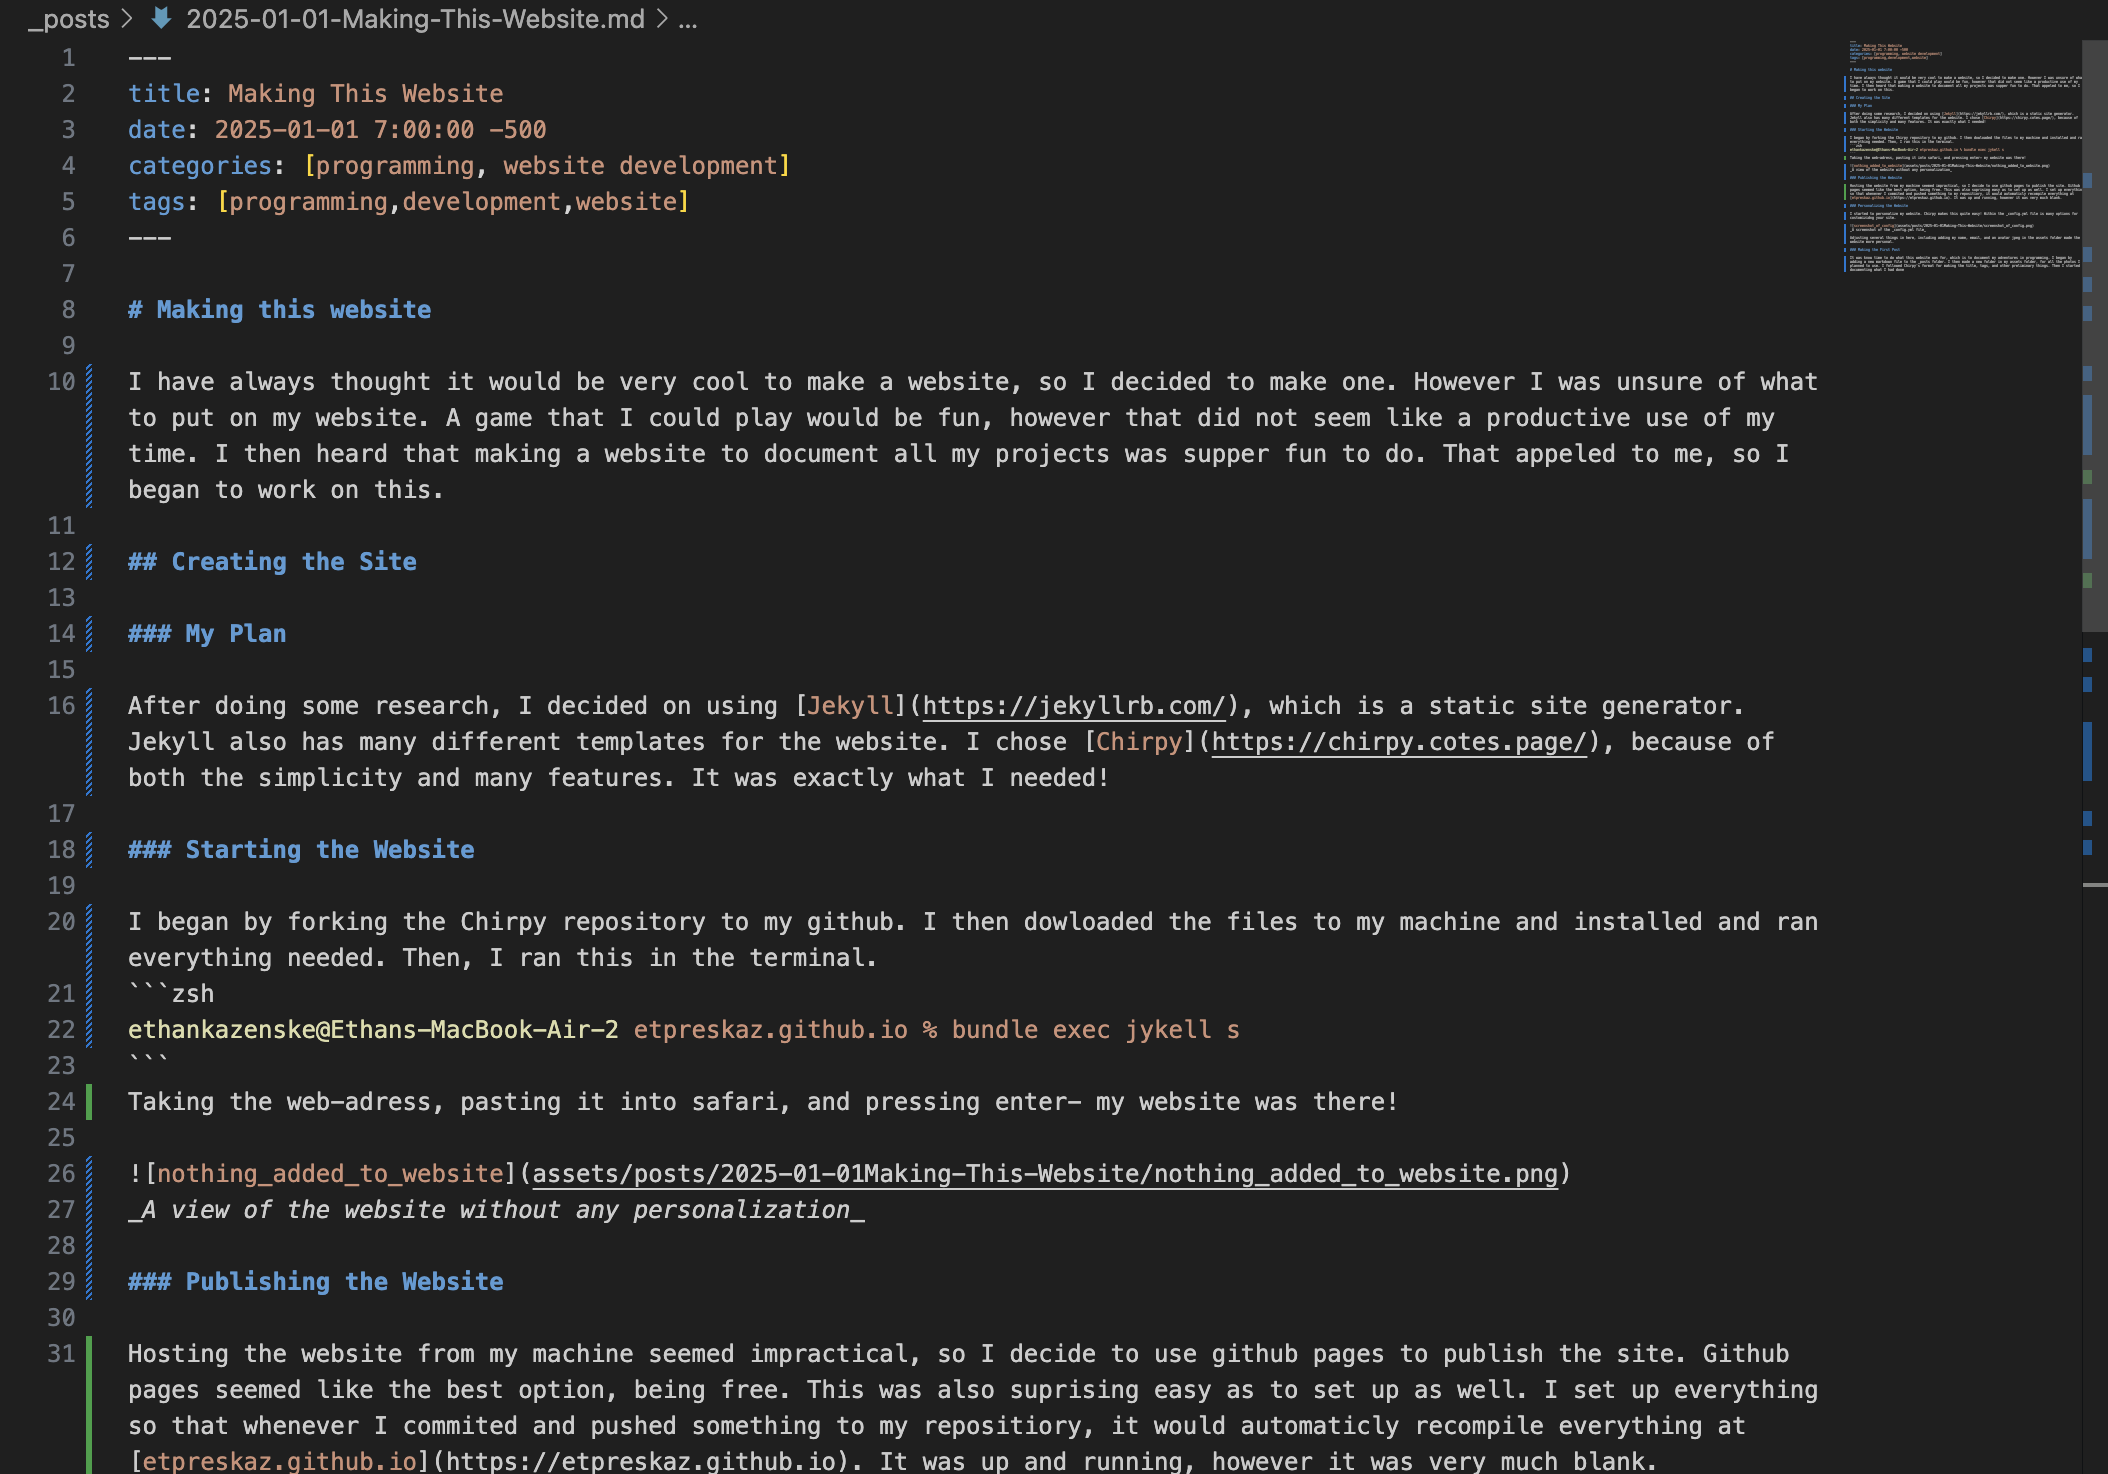 A screenshot of the markdown file for the first post
Next steps
And that was it. My website was made, the post was up, and my first post was made. There is still so much do though. I still need to verify the website, setup analytics, and add more to the website. I need write the about me page, and start to make a new post for an exciting project that I want to document! In the meantime, I am going to leave it at this. All the code can be viewed here. I am so excited for what this website is going to look like, and what exciting projects will be posted in the future!